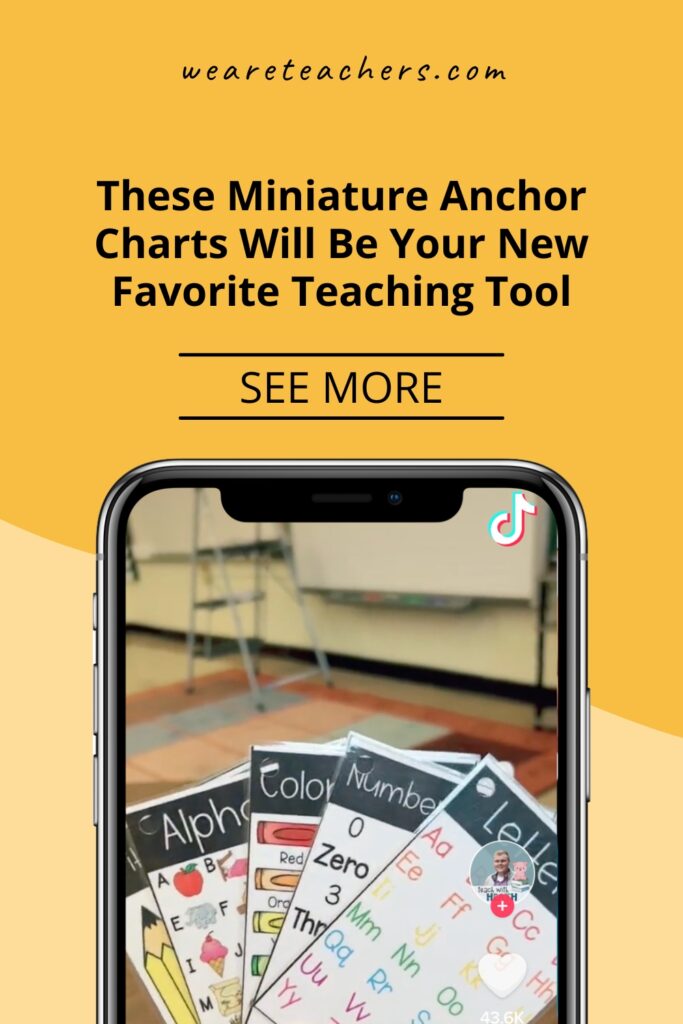
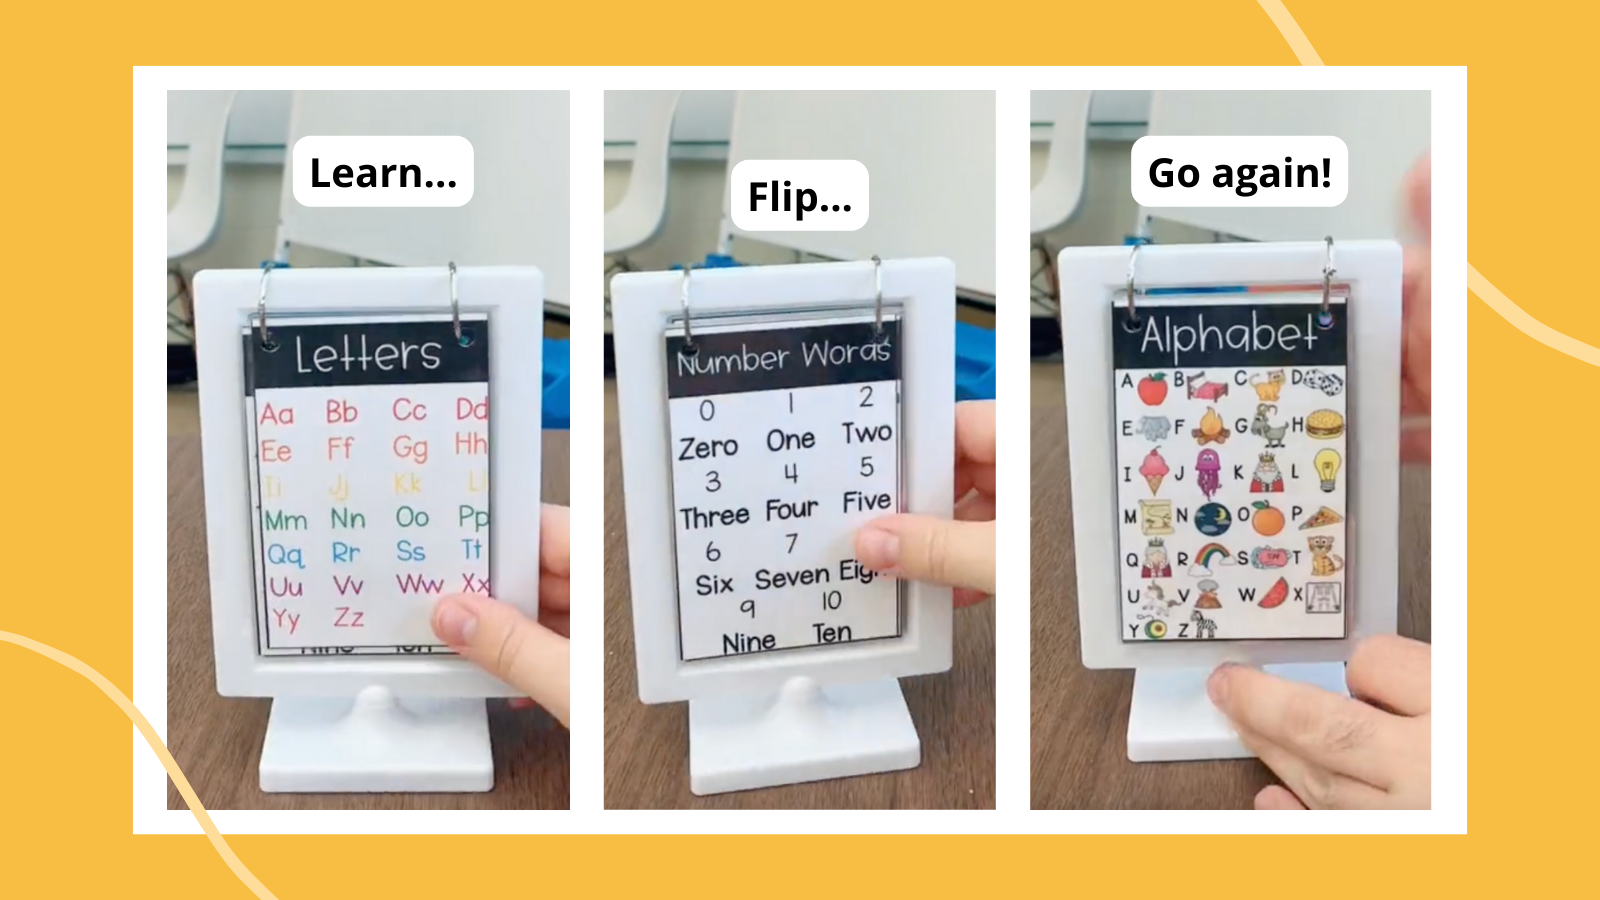
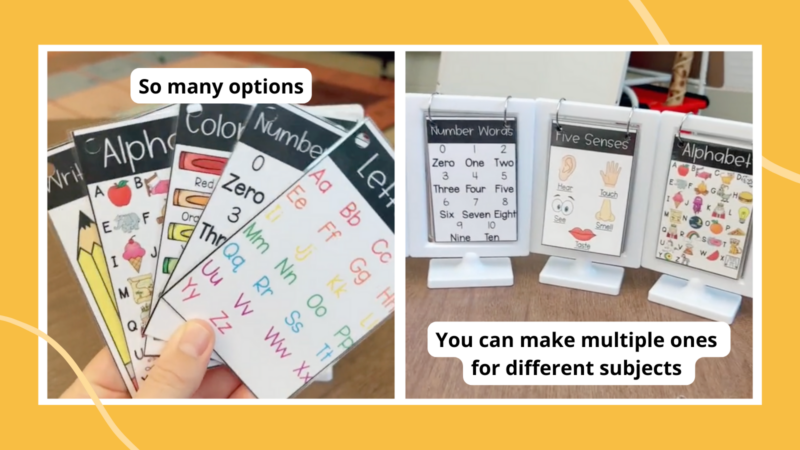
Why is it that things in miniature version are always oh-so cute? These miniature anchor charts are not only adorable, but we keep seeing teachers raving about them on social media. We saw these on Teach With Heath’s TikTok recently and love how he uses them in his kindergarten classroom.
@teachwithheath_ These are so cute and so helpful! 😍 #ReTokforNature #teacherlife #kindergartenteacher #secondyearteacher #anchorcharts #anchorchart #teacherhack #teachertip #teacherhacks #teachertips #classroomorganization #teachwithheath #classroomideas #classroomhack #teacherdiy
He immediately gave credit where credit it due, letting us know that he got the idea from Move Mountains in Kindergarten, who shares the idea and premade mini charts in her Teachers Pay Teachers store.
With her thumb’s up to share how to make these, we’re including the instructions below. We hope you’re able to use this idea in your own classroom. We think they’d make a great tool for learning targets or to personalize for students with specific learning needs.
Step 1: Gather the materials.
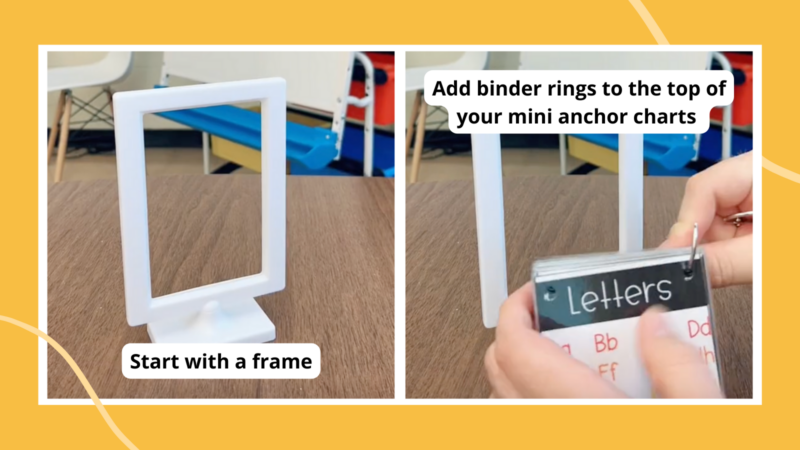
You’ll need a 4×6 vertical frame, hole puncher, 1-inch binder rings, scissors, and a laminator. The original mini anchor chart came from an Ikea frame that has since been discontinued. But you can find several other similar frames on the market, including at the dollar store.
Step 2: Prep your cards.
Print out or create the mini anchor charts you want to feature in your frame. You can either make your own or find premade ones like these. You’ll want to laminate them, and then punch two holes in the top. Two tips: First, do a quick measure to see where you want the binder rings to sit within the frame. Second, make sure the holes are in the same spot for every single page you want to use for easy flipping.
Step 3: Hang and go.
Gather up the mini charts you just created, putting them in the order you want. Then loop them through your 1-inch binder rings and hang them from your frame. Learn, flip, and go as needed!
Want to know the best ways to use anchor charts in your classroom? Get some tips here in Anchor Charts 101.
If you like sharing ideas like these, join our WeAreTeachers HELPLINE group for amazing ideas every day.
